Spool of Thread Rendering
Match to Live
The goal of this project was to create a realistic match to a live action photograph. The object had to be repeated, modeled to match the original one in the photo, with matching textures and accurate lighting. The shadow also had to match the one in the background photo. After a still image was composited the model had to be animated to display the way the object moved through the light and how the materials responded to the change. This animation is shown below.
I took this photograph, along with others that aided me in correctly matching the camera in 3D. I used one of these photos to create an LDR image to create the main environment lighting. These are also displayed below.
Software used: Maya, Arnold, Photoshop, Nuke
Responsible for all of the assets.
This project was completed in SCAD Visual Effects course 752 under the instruction of Professor Bridget Gaynor.
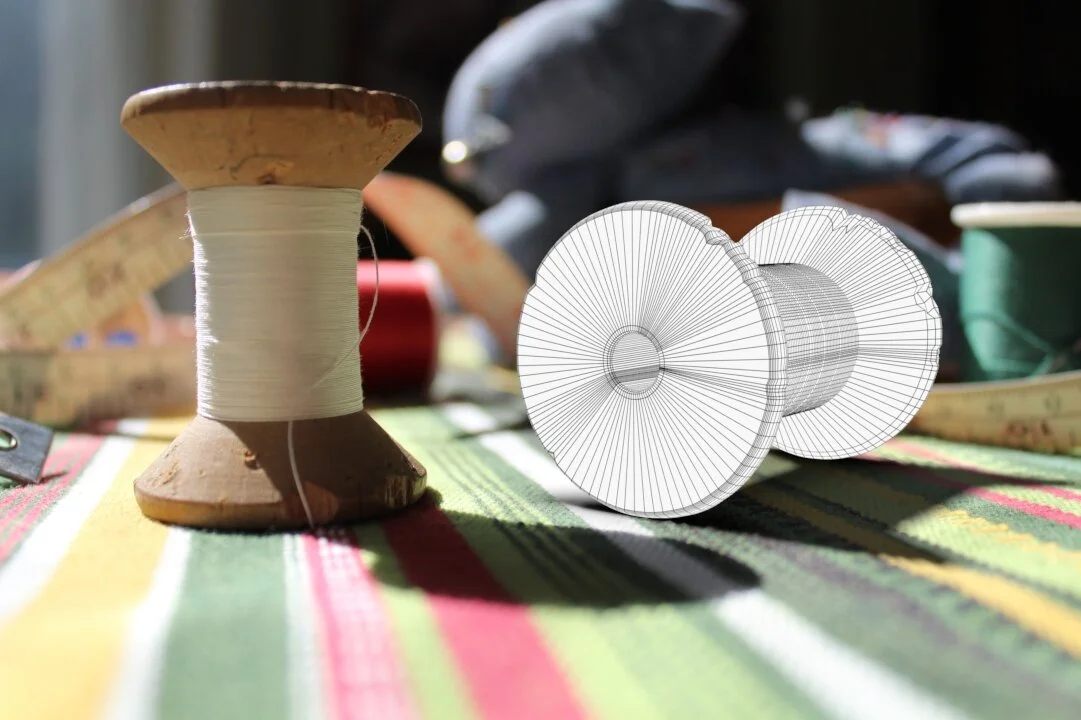
Wireframe model with a cast shadow
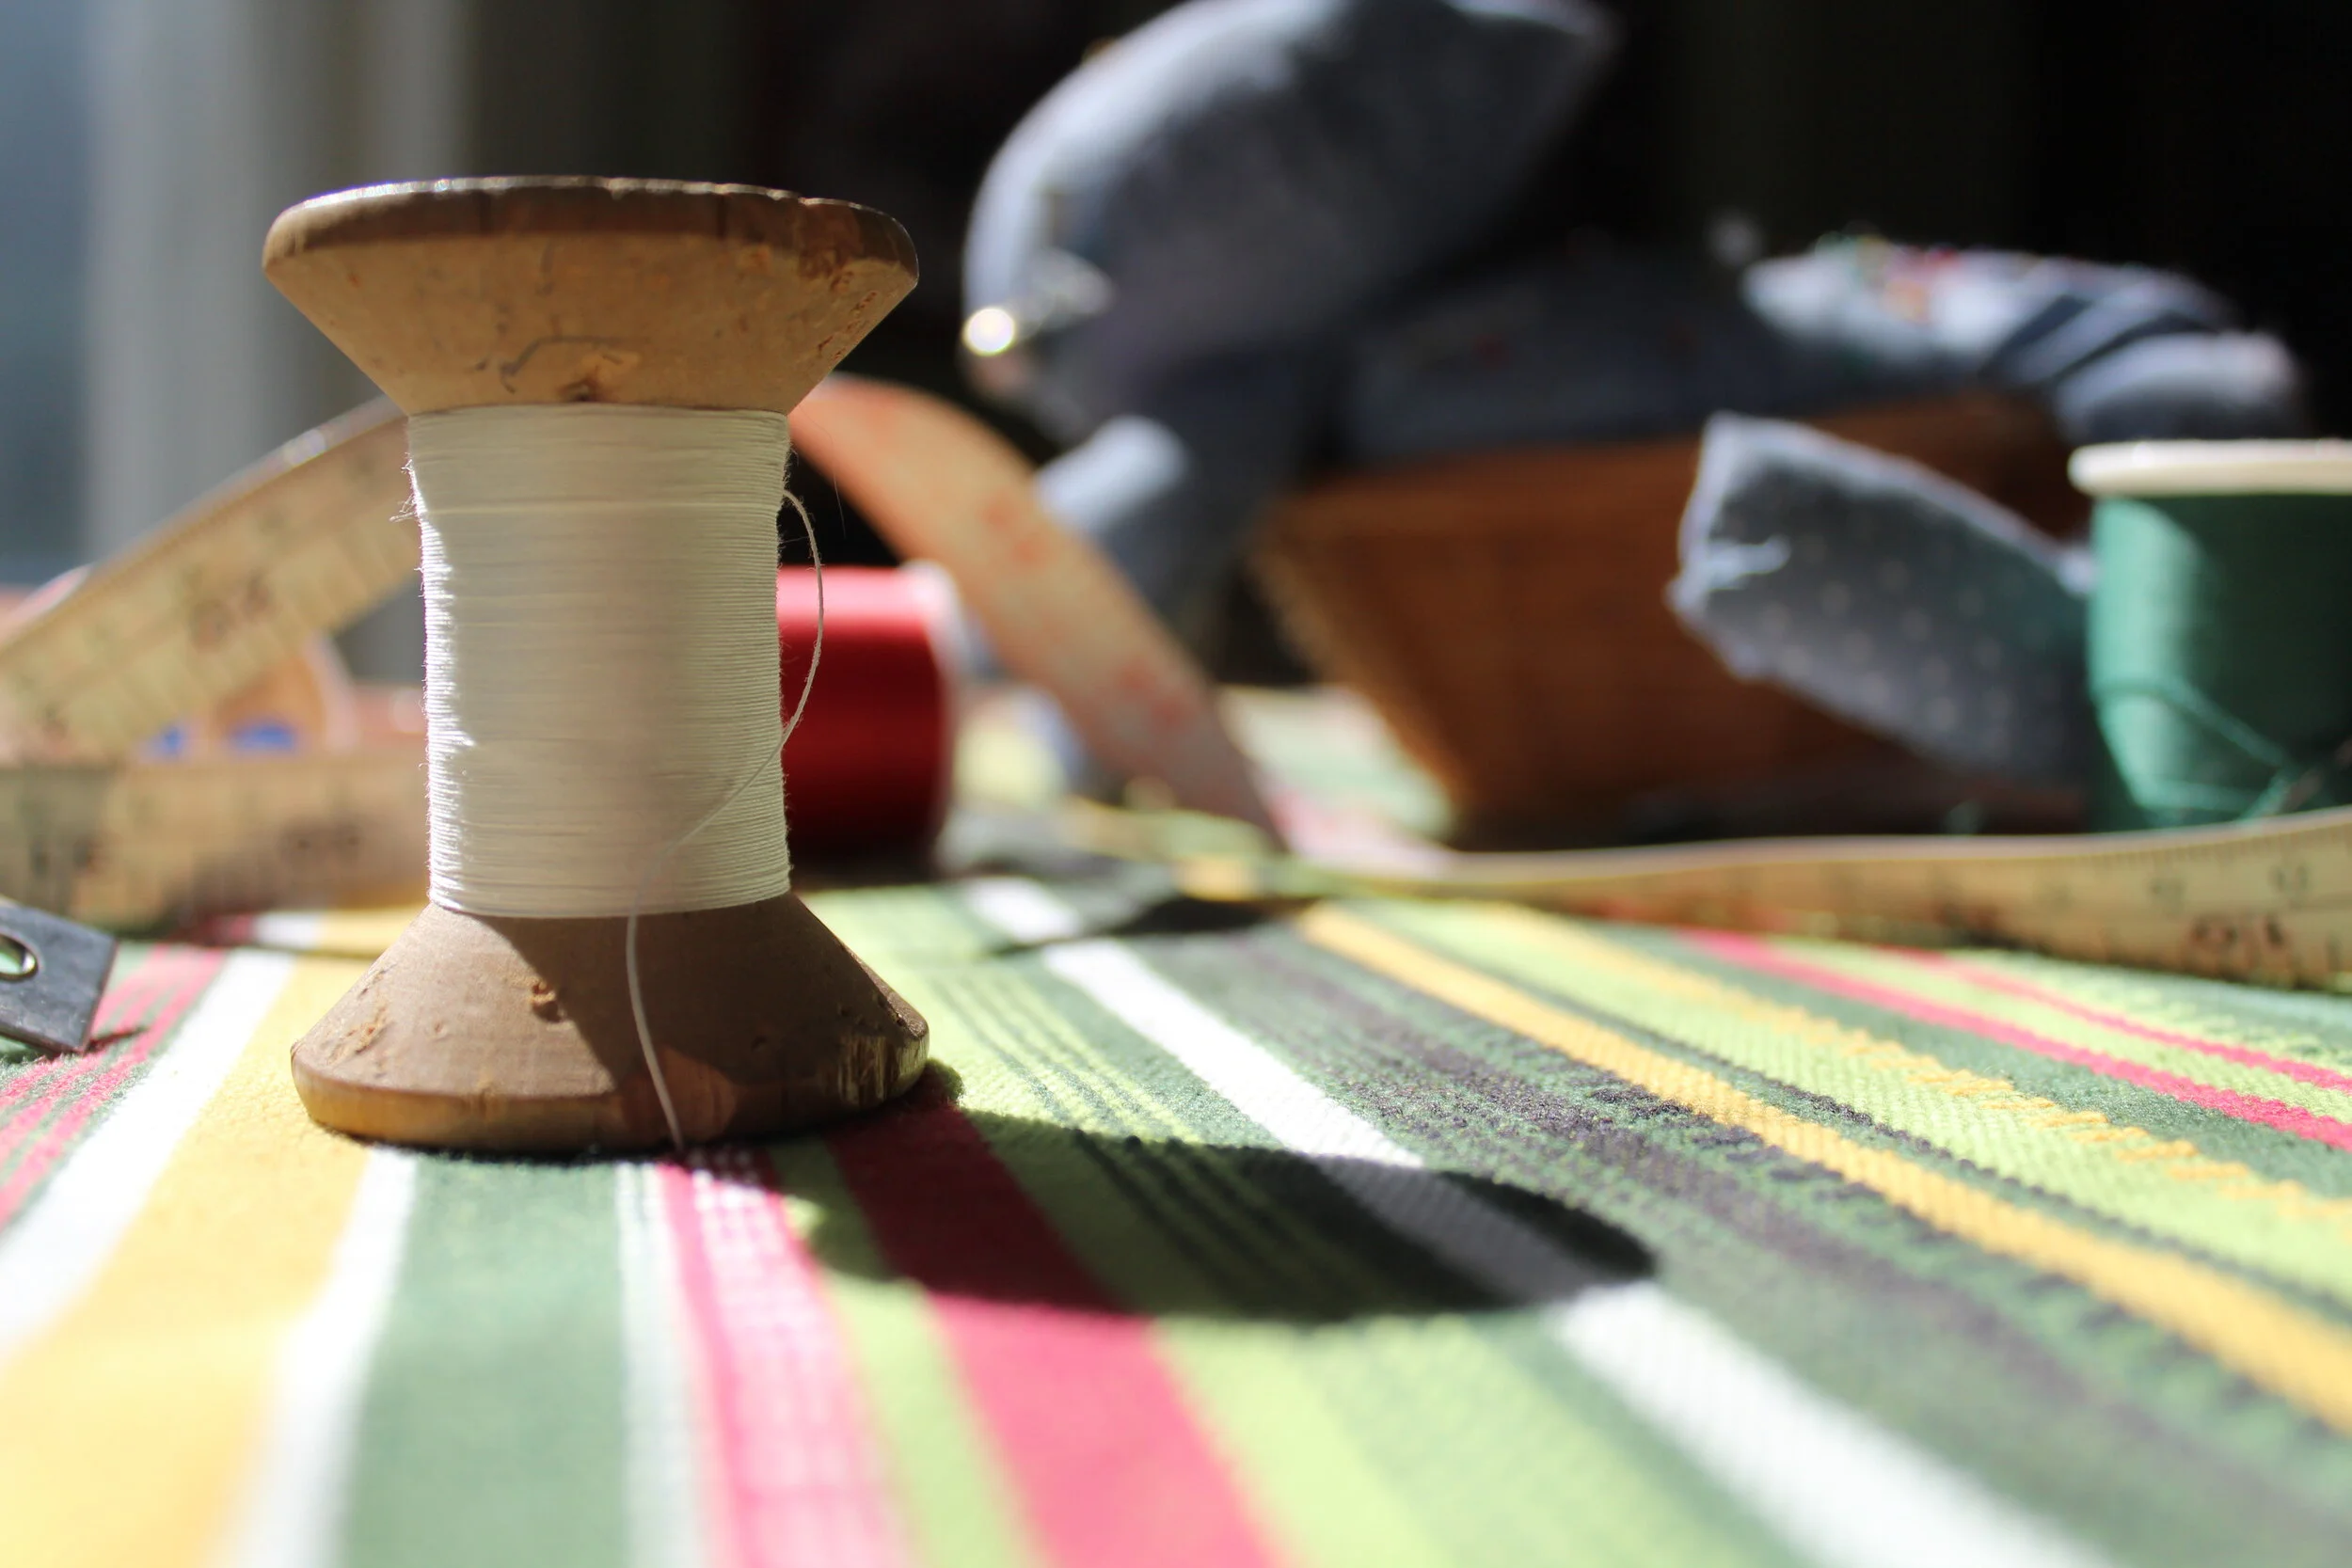
Original Photo - 1/800, f/4, 24mm, ISO 100

The wooden cube was placed with the corner facing the camera so that I could correctly match the possition of the 3D camera with that of the one I took the photo with.
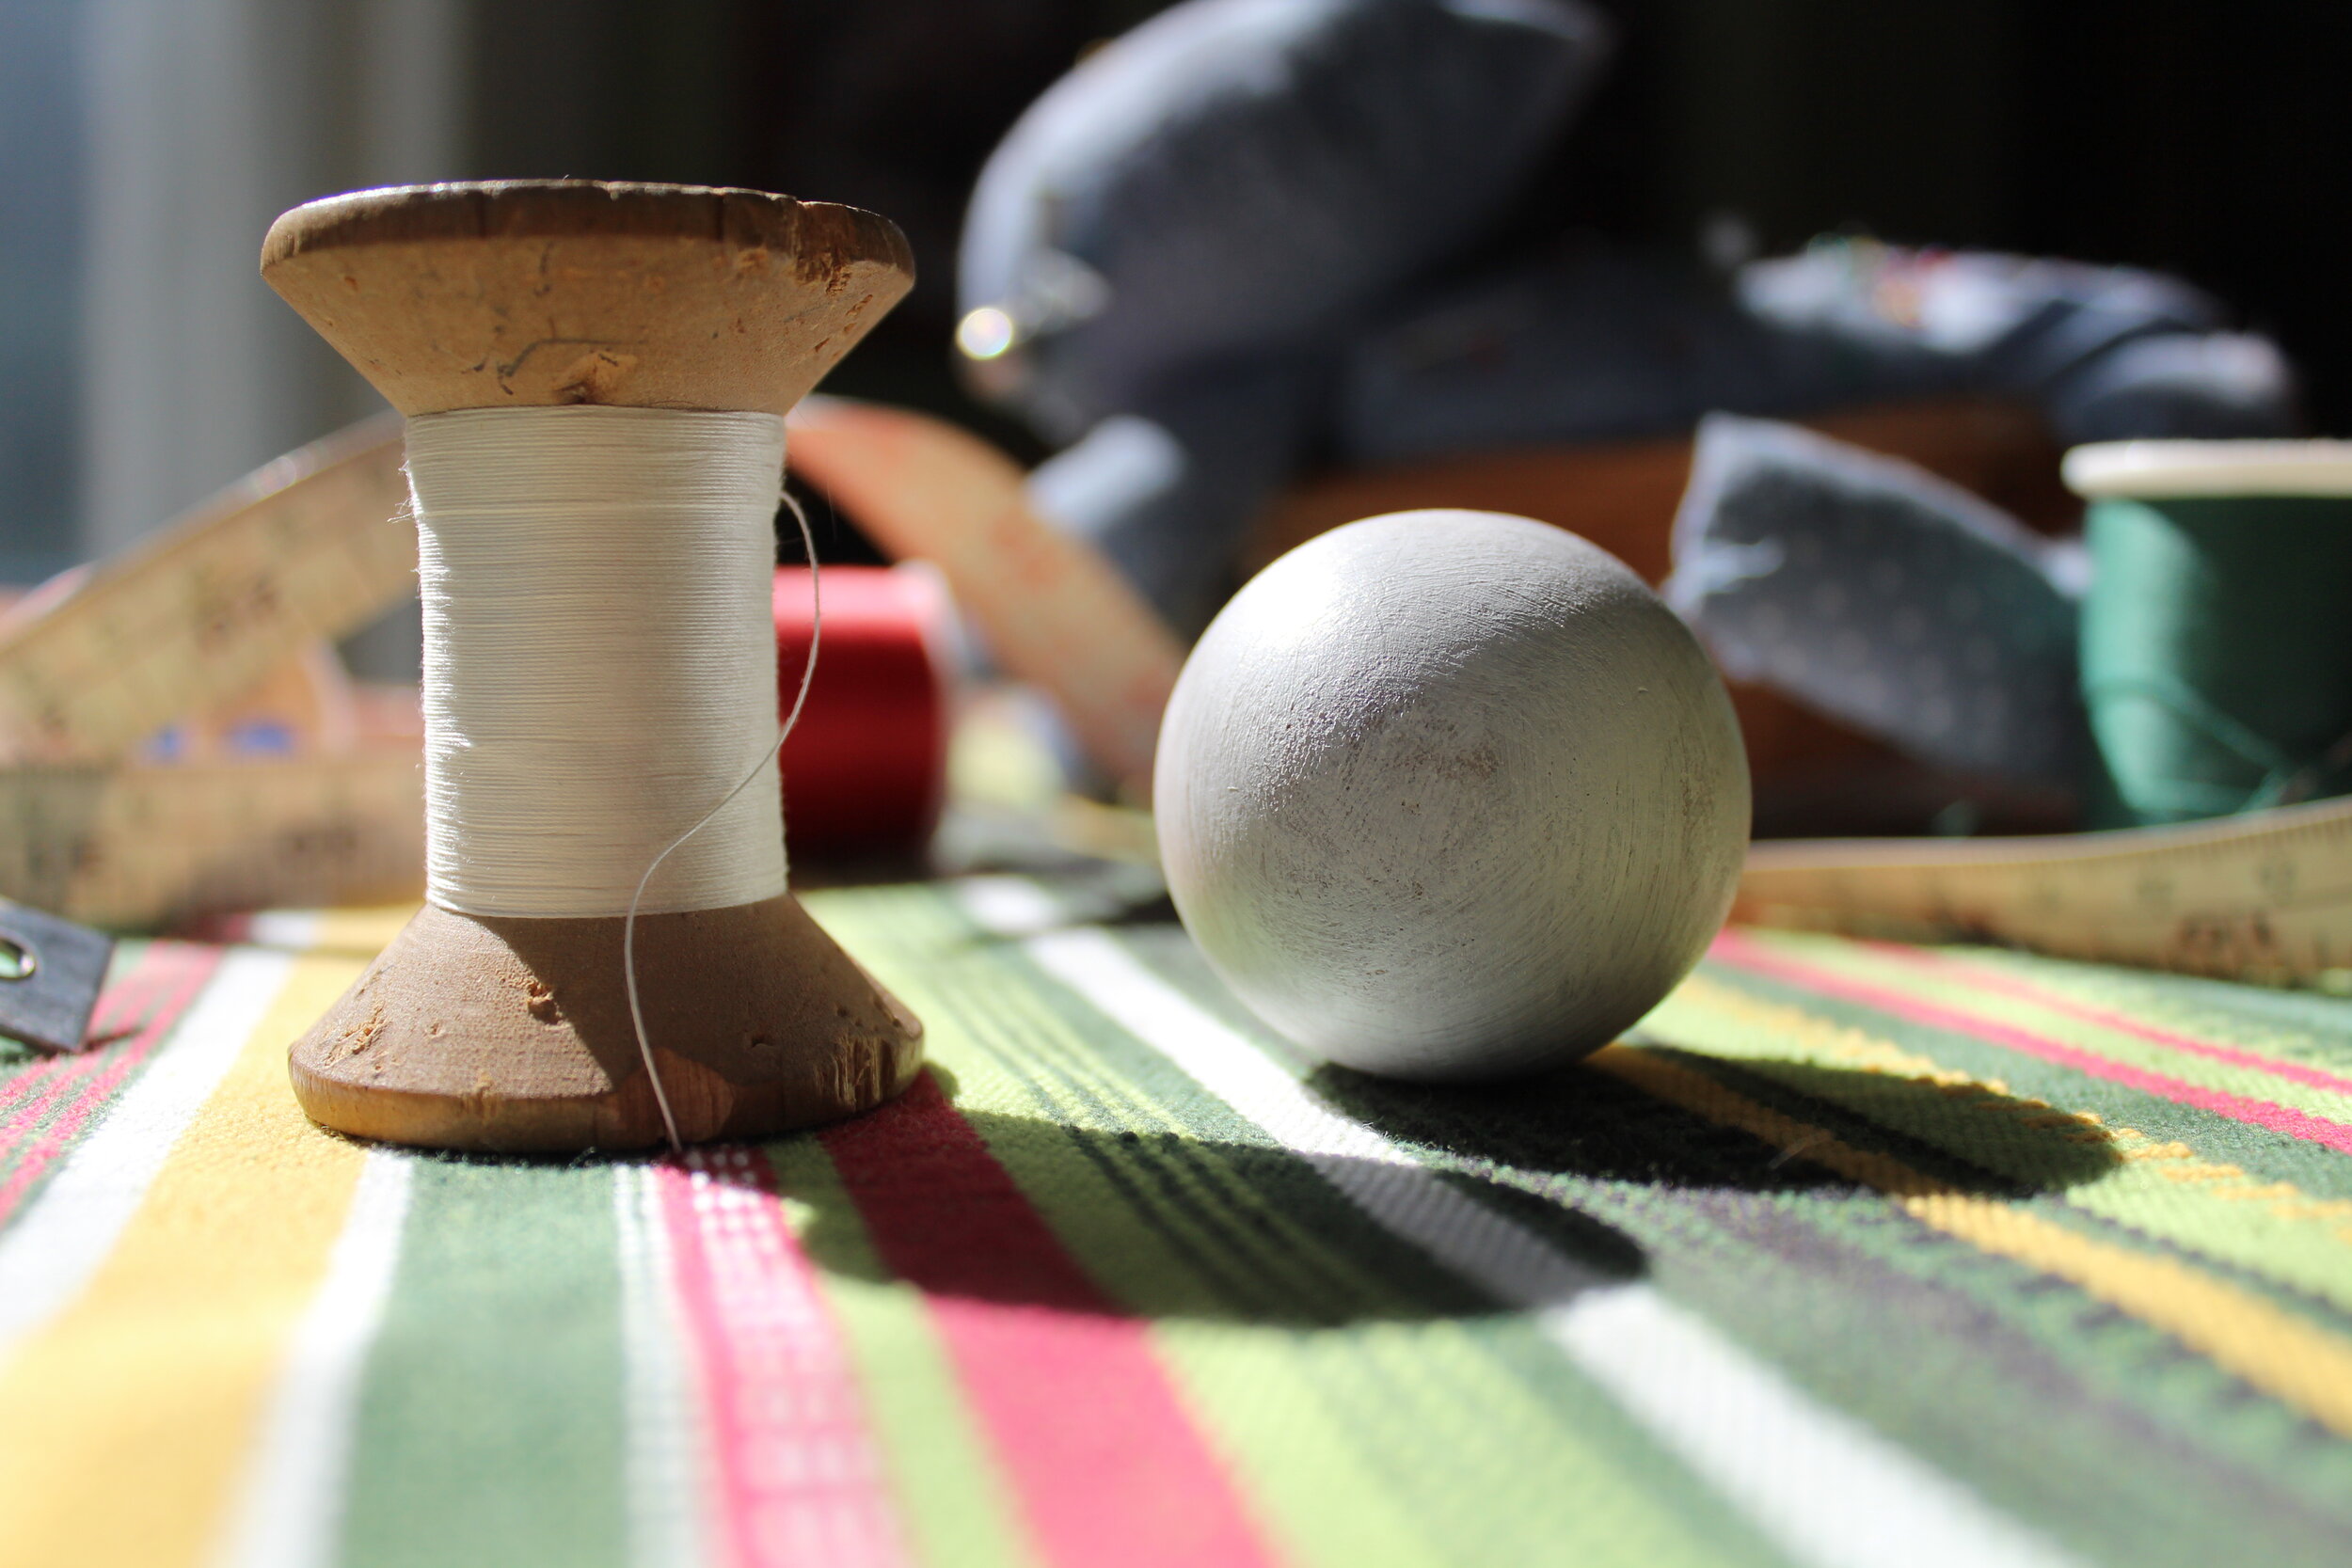
The white ball was used to judge the direction of the light as well as the strength of the specular, the color bounce and the shadow.
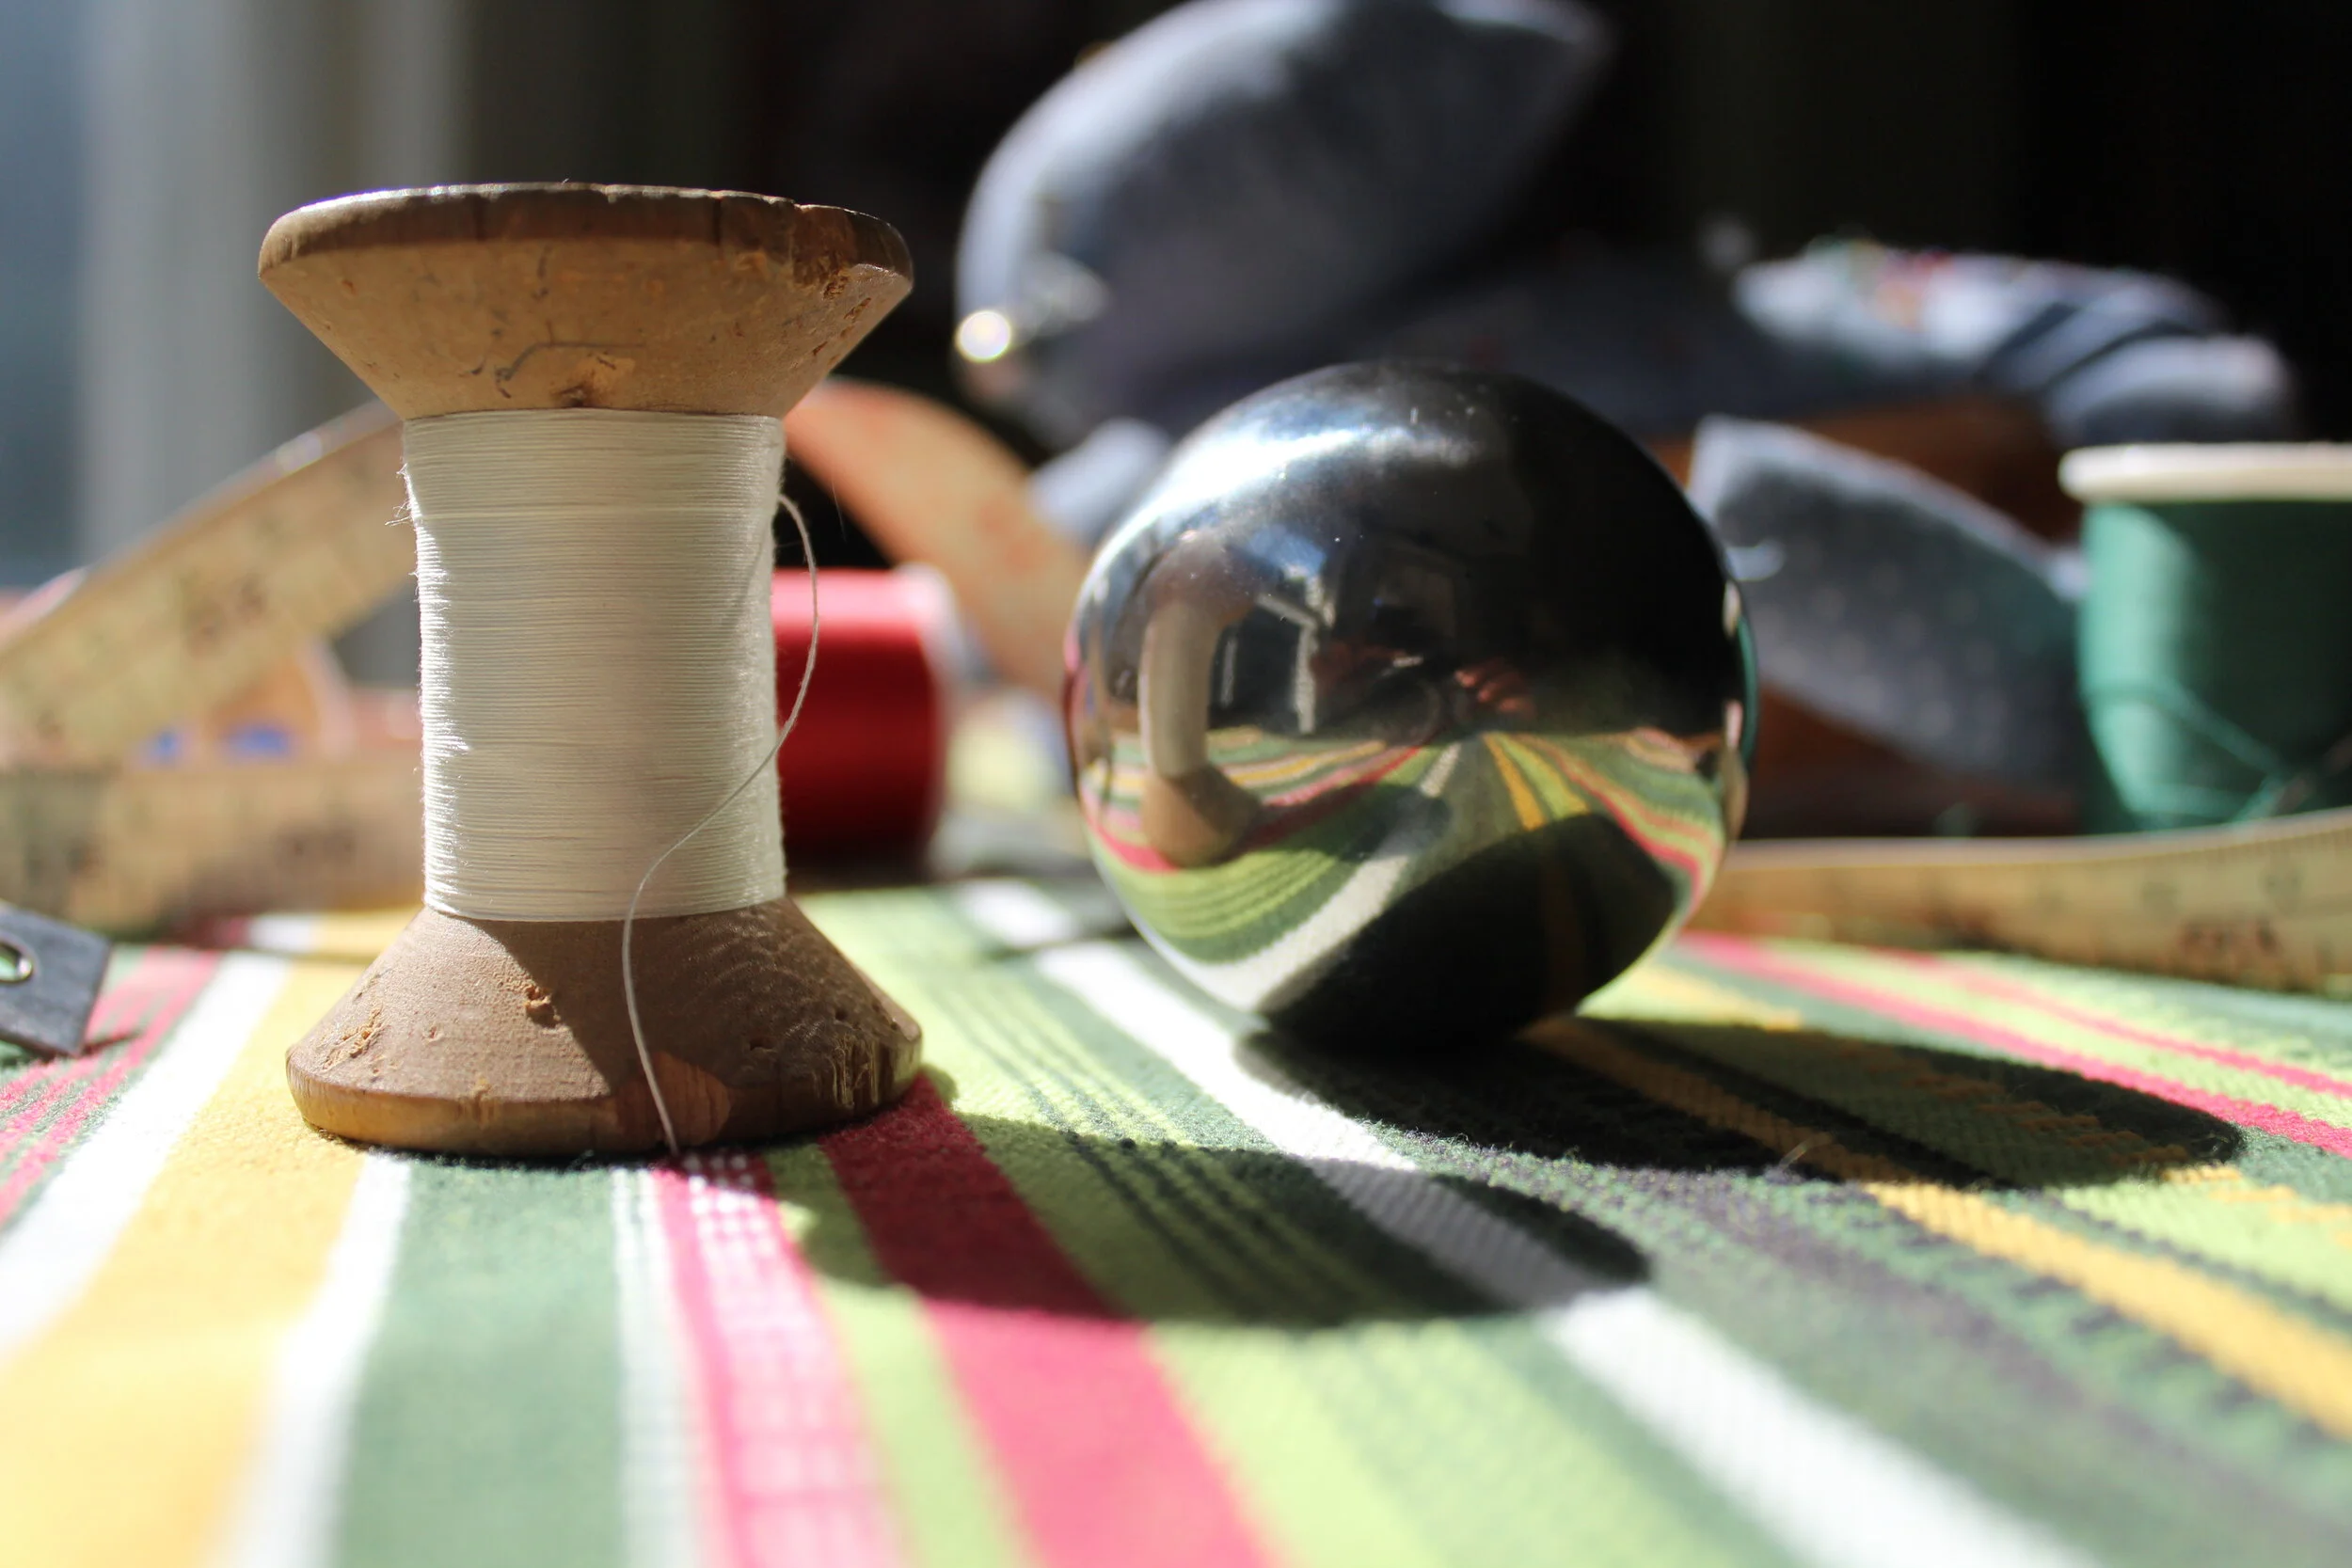
I used a chrome ball in this photo, as close to the size of the spool of thread as possible, to capture accurate reflections. I used the image in the chrome ball to create an LDR skydome light in Maya.

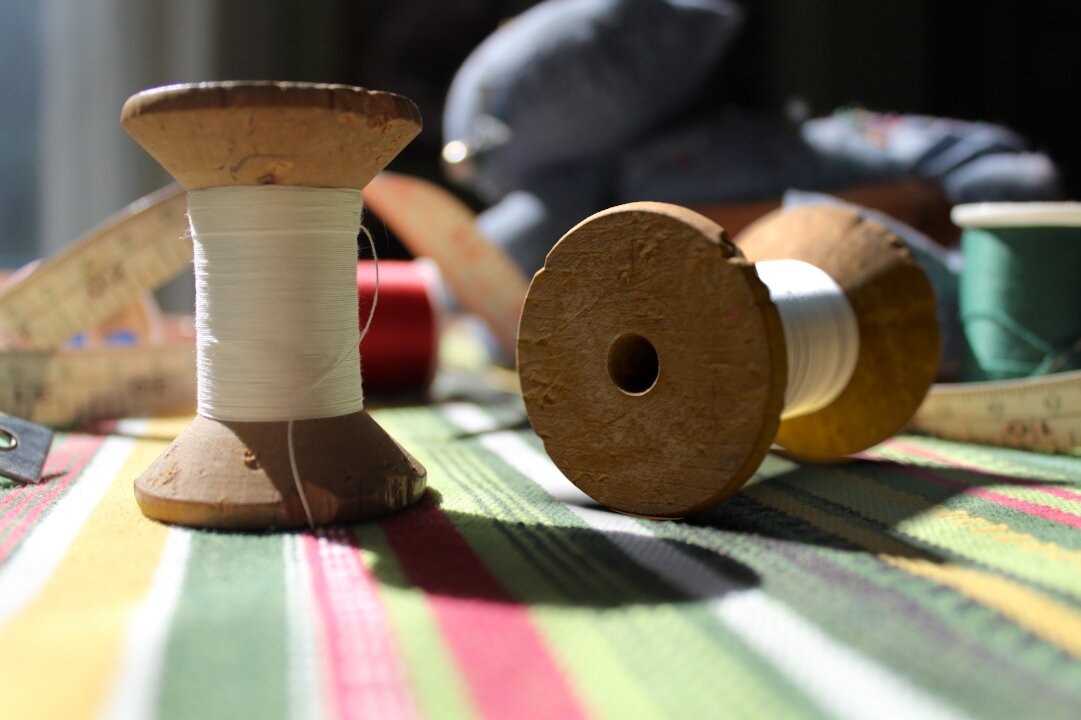
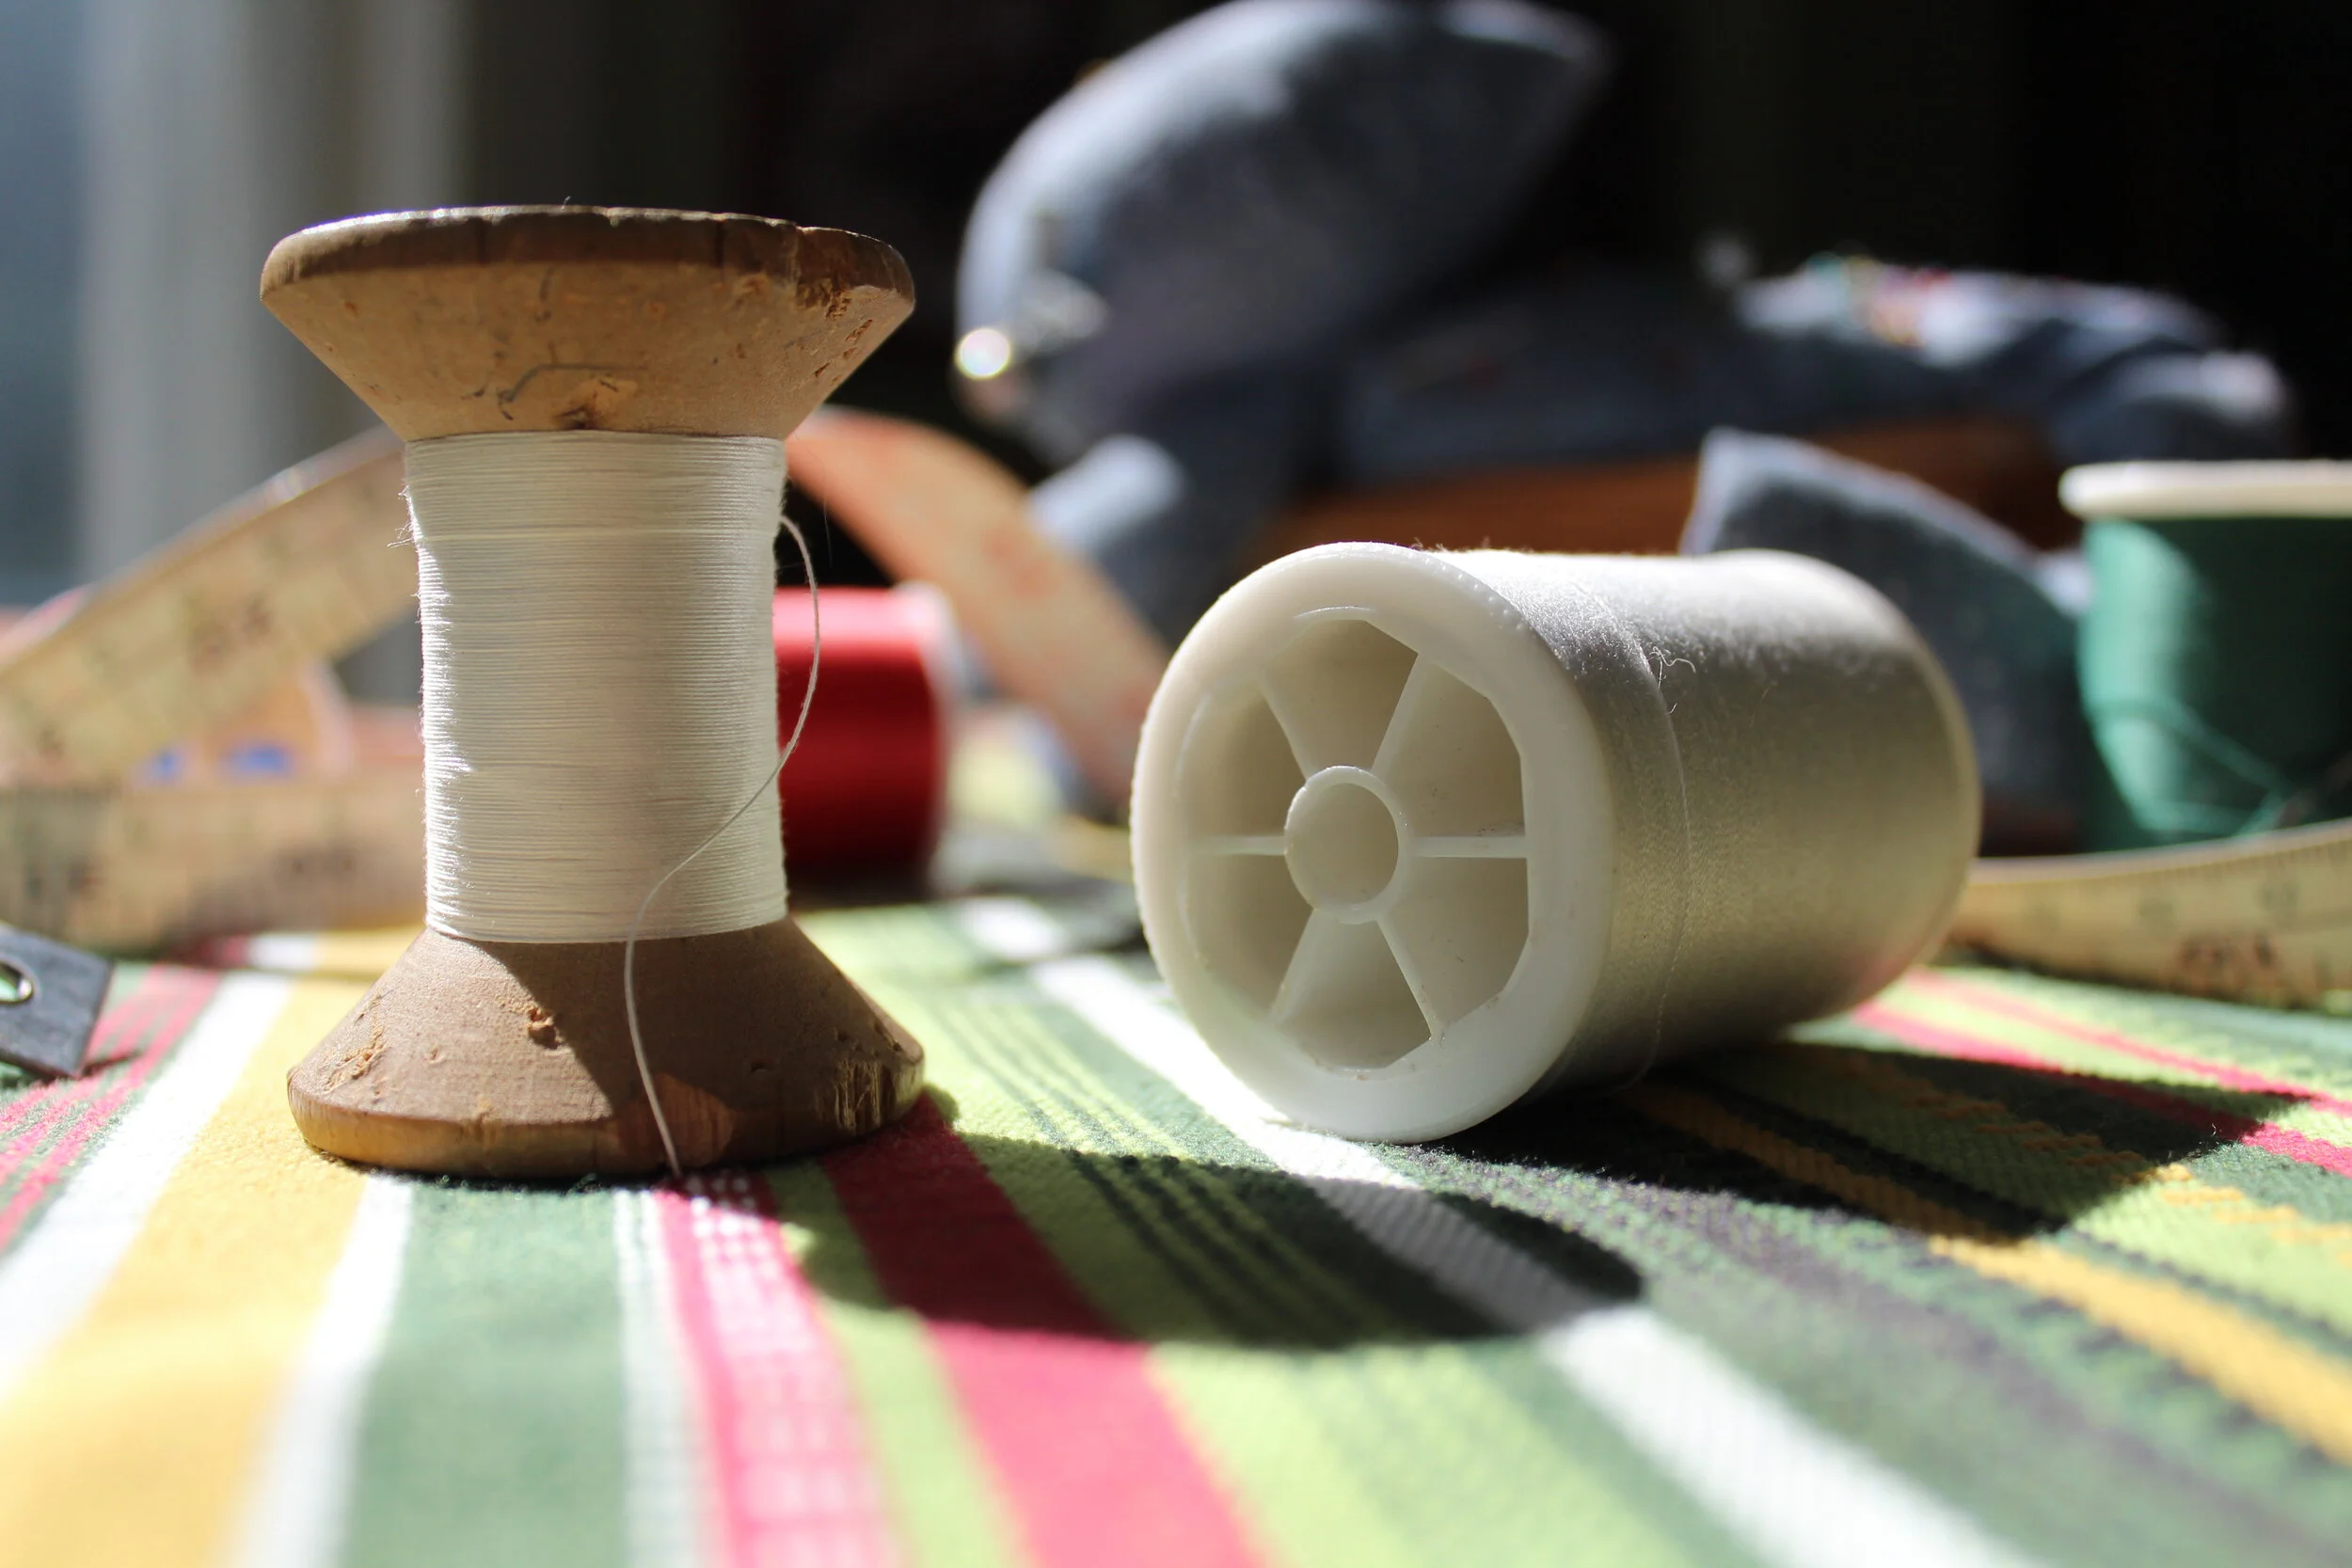
I swapped the spools in this photo, since I only had one wooden one. This way I could have a reference on what the spool would look like in that possition. I used this as my main lighting and shadow reference.
I placed a different spool in this photo for an additional reference on how the light is interacting with the tread specifically.